Save to Pinterest
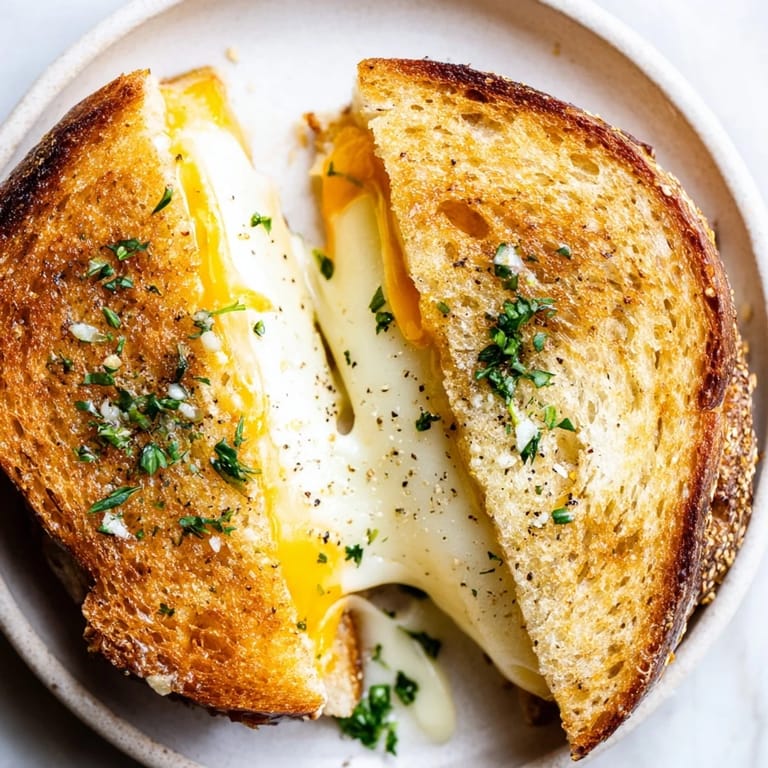
 There's something about the smell of garlic hitting a hot skillet that makes you pause mid-morning and think, yes, lunch is going to be good. I stumbled into this version of grilled cheese on a lazy Saturday when I realized I had sourdough, good cheese, and a jar of mayo gathering dust. Instead of reaching for butter like always, I minced up a garlic clove, stirred it into that mayo, and spread it on the bread. The result was crispy, golden, deeply savory—and somehow lighter than the heavy butter versions I'd made a hundred times before.
I made these for my neighbor last month when she stopped by unexpectedly, and she sat at the kitchen counter watching the bread turn golden while the cheese melted, asking questions the whole time about why mayo instead of butter. By the time I sliced into that first sandwich and the cheese pulled in warm strings, she was already asking for the recipe. There's a quiet victory in that moment—when something simple becomes memorable.
Ingredients
- Sourdough bread (4 slices): The tang and structure matter here—regular white bread gets too soft and won't hold up to the mayo without soaking through, but sourdough has enough backbone to get crispy on the outside while staying tender inside.
- Sharp cheddar cheese (4 slices): The sharpness cuts through the richness of the mayo and doesn't disappear into blandness the way mild cheese does.
- Mozzarella cheese (2 slices, optional): If you want extra melt and stretch, this adds it without overpowering the cheddar's flavor.
- Mayonnaise (3 tablespoons): Use a good brand or homemade if you're feeling it—the mayo browns and crisps in a way that creates flavor depth butter sometimes struggles to reach.
- Garlic clove (1 large, finely minced or grated): Grate it on a microplane if you have one; the texture spreads more evenly and releases more of that pungent, sweet garlic flavor into the mayo.
- Fresh parsley (1 teaspoon, finely chopped, optional): A small green note that brightens everything without making the sandwich taste herby.
- Black pepper (1/4 teaspoon): Freshly ground makes a noticeable difference in how alive the spread tastes.
- Dijon mustard (1 tablespoon, optional): A thin layer on the inside adds a subtle sharpness that plays against the garlicky sweetness.
Tired of Takeout? 🥡
Get 10 meals you can make faster than delivery arrives. Seriously.
One email. No spam. Unsubscribe anytime.
Instructions
- Make the garlic mayo:
- Combine mayonnaise, minced garlic, parsley, and black pepper in a small bowl and mix until the garlic is evenly distributed and the spread looks creamy with tiny flecks throughout. This is your flavor foundation, so don't rush it.
- Prepare your bread:
- Lay out four slices of sourdough on a clean counter. If you're using mustard, spread a thin, even layer on the inside of two slices—this goes between the bread and cheese, not on the outside.
- Build the sandwich:
- On one mustard-lined slice, layer two slices of cheddar, then one slice of mozzarella if using. Top with the second mustard-lined slice to form one sandwich, then repeat with the remaining bread and cheese to make the second sandwich.
- Coat the exterior:
- Spread the garlic mayo mixture evenly and thinly on the outside of each bread slice—top and bottom of both sandwiches. This coating is what turns the bread golden and crispy, so distribute it thoughtfully rather than piling it on.
- Heat your cooking surface:
- Set a nonstick skillet or griddle over medium-low heat and let it warm for a minute or two. Medium-low is important because you want the bread to brown slowly and deeply while the cheese inside has time to melt completely.
- Cook the first side:
- Place both sandwiches on the skillet and cook for 3 to 4 minutes without moving them. You'll hear a gentle sizzle; the bottom should turn golden brown and crispy. If you peek and it's pale, give it another minute.
- Flip and finish:
- Flip each sandwich carefully with a spatula and cook the second side for another 3 to 4 minutes, pressing down very gently and briefly a couple of times to encourage even browning and cheese melt. You're looking for the same deep golden color on both sides.
- Rest and serve:
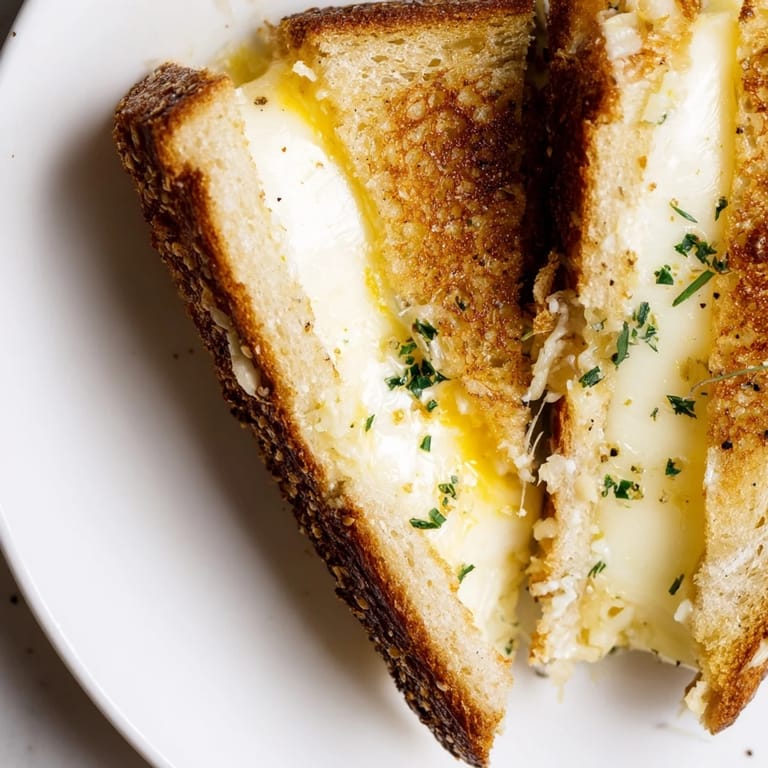
- Transfer to a plate and let them sit for about a minute—this sets the cheese so it doesn't escape when you slice. Cut diagonally if you want to feel fancy, and eat while the cheese is still pulling and the bread is still warm and crispy.
 Save to Pinterest
 These sandwiches have a way of turning a quiet lunch into something worth sitting down for. The crispness lasts a few minutes after you plate them, and that window—when the bread is still snapping between your teeth and the cheese is at peak melt—is when they're perfect.
Why Garlic Mayo Changes Everything
Butter is traditional, but it doesn't brown the way mayo does. Mayo contains egg, water, and oil in an emulsion that caramelizes and crisps up beautifully when it hits heat, creating a flavor that's richer and more complex than what you get from butter alone. The garlic dissolves into that emulsion, so every bite has that savory depth built in rather than sitting as a separate flavor on top. It's a small shift that feels unexpectedly substantial.
Cheese Combinations Worth Trying
Sharp cheddar is the anchor here, but the second cheese is where you can play. Mozzarella is the obvious choice for melt, but gruyère brings a nuttiness that deepens against the garlic, and pepper jack adds heat that builds with every bite. I tried a version with aged gouda last month and it tasted almost smoky. The rule is simple: pick a second cheese that melts smoothly and has a flavor you actually want to taste.
Beyond the Basics
The mustard on the inside is optional, but it's worth trying at least once—it adds a sharpness that prevents the sandwich from tasting one-note. For variations that still feel natural, sliced tomato works if you pat it dry first so it doesn't steam the bread soggy, and caramelized onions turn this into something entirely more luxurious. A tiny pinch of chili flakes mixed into the mayo creates a gentle heat that builds subtly rather than hitting you all at once.
- If you're making these for guests, assemble everything ahead and store the mayo-coated sandwiches in the fridge for up to an hour—they cook just as well cold.
- Use a griddle instead of a skillet if you have one; you can cook both sandwiches at once and control the heat more evenly.
- Eat these immediately after they finish resting, because the magic is in that window when crispy meets melted.
 Save to Pinterest
 This is the kind of sandwich that feels simple until you actually make it, and then you wonder why you spent years making grilled cheese the old way. It's lunch without pretense, but good enough to remember.
Recipe Q&A
- → How do I make the garlic mayo spread?
Combine mayonnaise, finely minced garlic, chopped parsley, and black pepper in a bowl. Mix well until evenly blended.
- → What type of bread works best?
Sourdough bread is preferred for its sturdy texture and flavor, which crisps well when toasted.
- → Can I substitute cheeses?
Yes, try Swiss, Gruyère, or pepper jack for different melting qualities and flavor profiles.
- → How should I cook the sandwich for best results?
Use a nonstick skillet over medium-low heat, cooking 3–4 minutes per side while pressing gently for crispiness and even melting.
- → Are there ways to enhance the flavor?
Add sliced tomatoes, caramelized onions, or chili flakes to the mayo for extra layers of taste.