 Save to Pinterest
 There's something magical about opening a jar of peanut butter and realizing you can turn it into cookies with almost nothing else. I discovered these one afternoon when my pantry was nearly bare—no flour, no butter, just the basics—and I wanted to prove to myself that simplicity could actually taste better. What started as desperation became my most-requested dessert, the kind people ask for by name.
I made these for a coworker's potluck on a Tuesday when everyone was exhausted, and they vanished before the meeting even started. People stood around the empty plate asking what bakery they came from, and I got to drop the truth: my kitchen, three ingredients, a fork. That moment taught me that sometimes the most impressive thing you can do is show up with something honest.
Ingredients
- Creamy peanut butter: Use a good one—the kind where the oil sits on top if you let it. Skip the ultra-processed stuff; your cookies will taste like actual peanut butter instead of sweetened paste.
- Granulated sugar: This dissolves into the dough and creates that tender crumb. White sugar keeps the flavor clean so the peanut butter shines.
- Large egg: One egg binds everything and gives the cookies structure without making them cake-like. Room temperature works best, though I've never bothered to wait.
Tired of Takeout? 🥡
Get 10 meals you can make faster than delivery arrives. Seriously.
One email. No spam. Unsubscribe anytime.
Instructions
- Heat your oven and prep:
- Set the oven to 350°F and line a baking sheet with parchment paper. This takes two minutes and saves you from scraping burnt sugar later.
- Mix your three things together:
- Combine the peanut butter, sugar, and egg in a bowl and stir until smooth. You'll feel the dough come together almost immediately—it's thick and forgiving.
- Shape into balls:
- Scoop tablespoon-sized portions and roll them between your palms until they're roughly the size of walnuts. Place them about two inches apart on your sheet because they'll spread slightly as they bake.
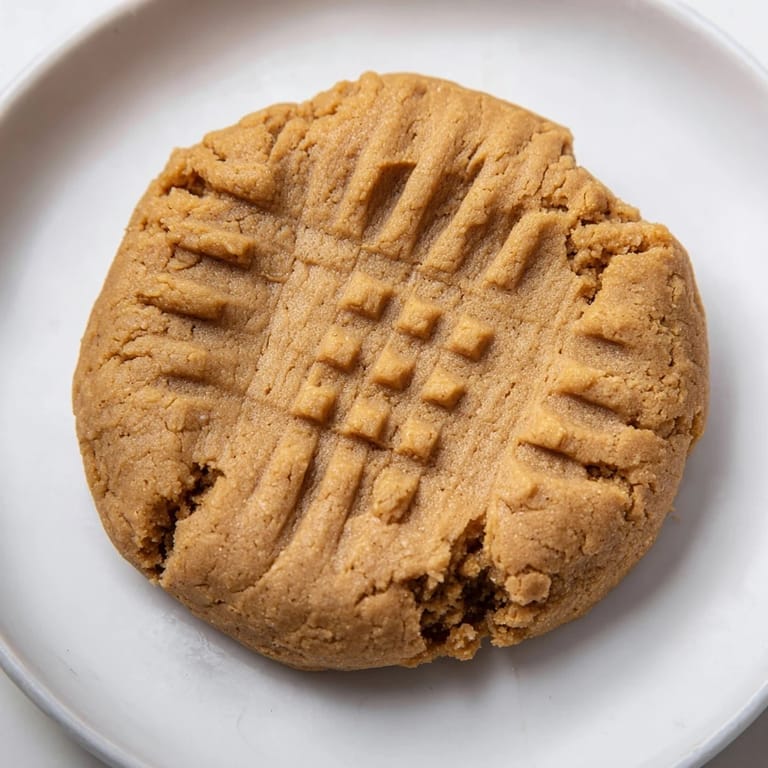
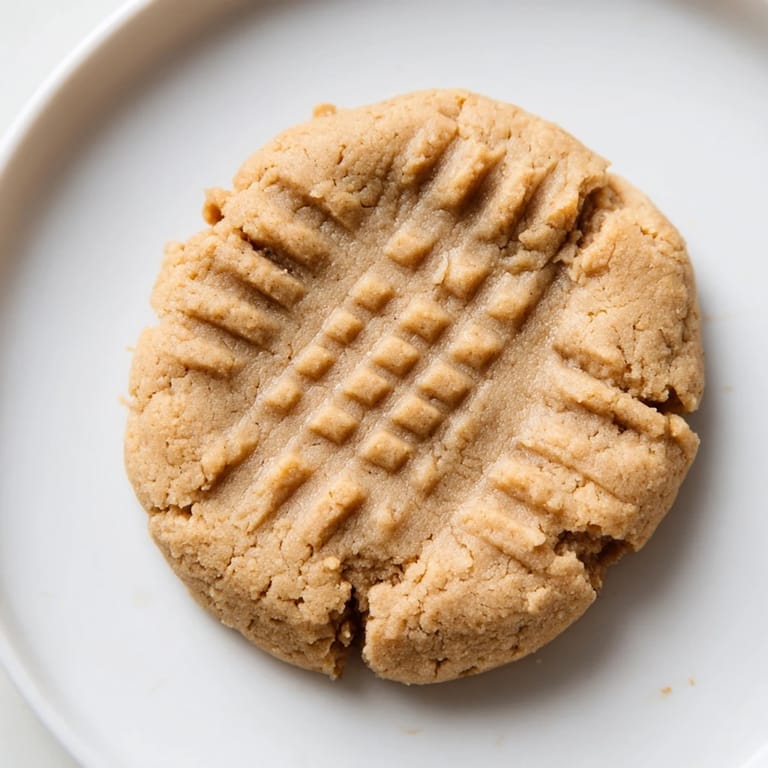
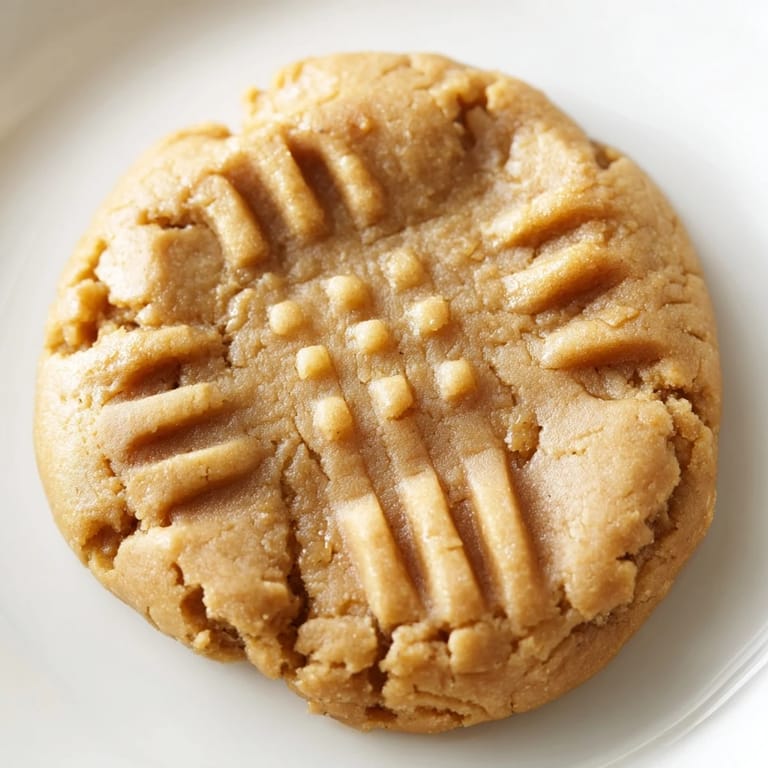
- Make the classic crosshatch:
- Gently flatten each ball with a fork, press down, lift, rotate 45 degrees, and press again to create that familiar crisscross pattern. It's half decoration and half functional—it helps them bake evenly.
- Bake until edges set and tops crack:
- Bake for 9 to 11 minutes, watching for the moment when the edges look dry but the center still jiggles slightly. The tops will start to crack—that's when you pull them out, not when they look fully done.
- Cool strategically:
- Let them sit on the hot pan for 5 minutes, which lets them firm up enough to transfer without falling apart. Then move them to a wire rack where the air underneath keeps them from getting soggy on the bottom.
 Save to Pinterest
 My seven-year-old nephew helped me make a batch once, and he was amazed that we weren't using flour. He kept asking if we were doing it wrong, and when they came out perfect, it genuinely shifted how he thought about cooking—that sometimes the rules you think are absolute aren't. Now he requests these every time I visit, and I let him do the fork press because it matters to him.
Flavor Variations That Work
Brown sugar swaps in beautifully if you want a deeper, molasses-forward taste that makes the cookies feel almost caramel-like. A half teaspoon of vanilla extract adds complexity without drowning out the peanut butter, and a small pinch of sea salt creates contrast that makes your brain perk up. I've pressed chocolate chips into the dough before baking, and I've sprinkled a few on top after, and both methods work—it just depends if you want them distributed throughout or concentrated at the edges.
Storage and Keeping Them Fresh
These cookies stay soft for three days in an airtight container at room temperature, which is longer than they usually last in my house. If they start to harden and you want to revive them, just pop them in a 300°F oven for two minutes to warm through. They also freeze beautifully—both the baked cookies and the dough—so you can bake one or two whenever the craving hits without committing to a full batch.
Why This Recipe Deserves a Regular Spot in Your Kitchen
Simplicity is underrated in baking, where we're taught that more ingredients and more technique equal better results. These cookies prove that isn't true—they're a masterclass in letting one flavor speak for itself. They're the cookies I make when I want to actually enjoy the process instead of stressing about measurements, when I want something ready before anyone's finished complaining about being hungry, and when I want people to feel genuinely cared for without any performance or pretense.
- Keep a jar of decent peanut butter on your counter specifically so these are always possible.
- If you're nervous about baking, start here—there's almost nothing that can go wrong.
- These are the cookies that make you look like you have your life together, and they take 15 minutes.
 Save to Pinterest
 These cookies have been sitting on my kitchen counter for longer than any recipe I own, and they never stopped surprising me. They're there for moments when I need to show up for someone, when I'm out of patience for complicated recipes, and when I want to remember why I love cooking in the first place.
Recipe Q&A
- → What type of peanut butter works best?
Use creamy peanut butter, either unsweetened or lightly sweetened, for a smooth dough and balanced sweetness.
- → Can I substitute sugar with brown sugar?
Yes, brown sugar adds a richer flavor and moister texture to the cookies.
- → How do I know when the cookies are fully baked?
Bake until edges are set and tops start to crack, usually about 9-11 minutes at 350°F (175°C).
- → Can I add extra flavors?
Adding a pinch of sea salt, vanilla extract, or pressing chocolate chips into the dough before baking enhances flavor depth.
- → Are these cookies suitable for gluten-free diets?
Yes, these cookies contain no flour and are naturally gluten-free, ideal for gluten sensitivities.