 Save to Pinterest
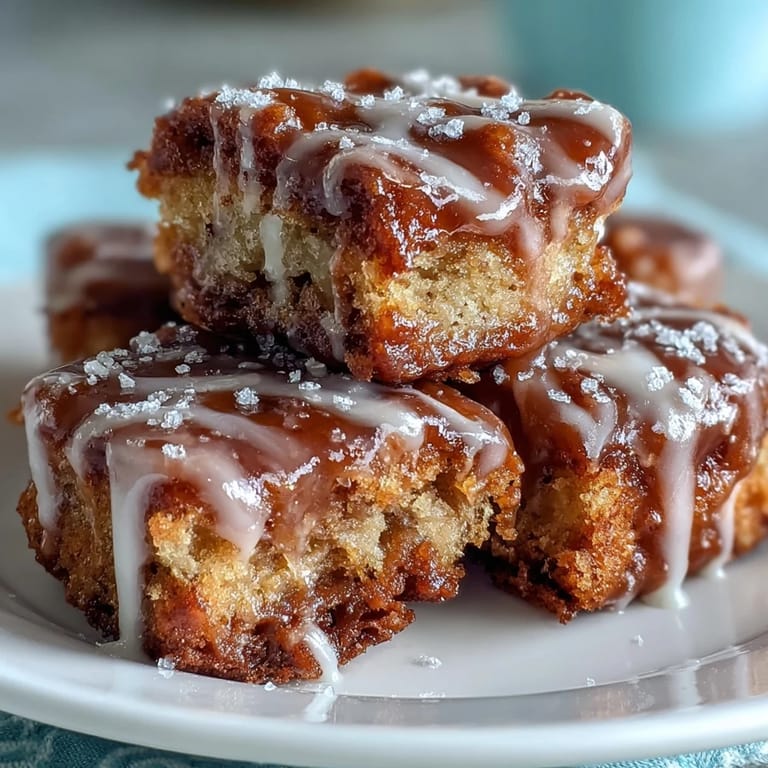
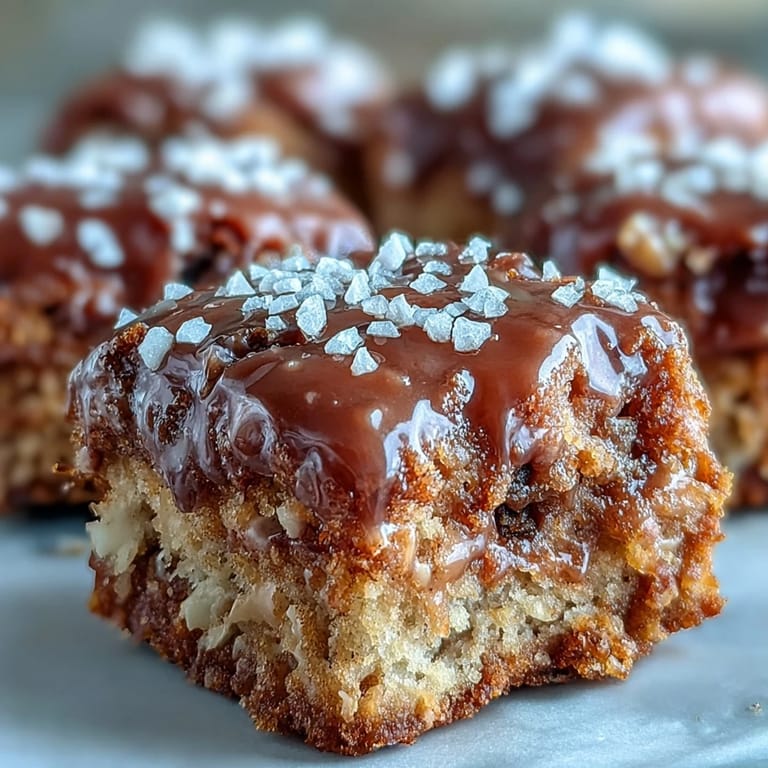
 The maple syrup bottle sat upside down on the counter while I debated whether these should be donuts or something easier. My apartment kitchen had zero counter space, and I was already running late for a friend's brunch, but the smell of warm maple and cinnamon seemed worth the risk. I went with bars instead of frying individual donuts, mostly because I was tired and slightly impatient, which turned out to be the best mistake of that morning.
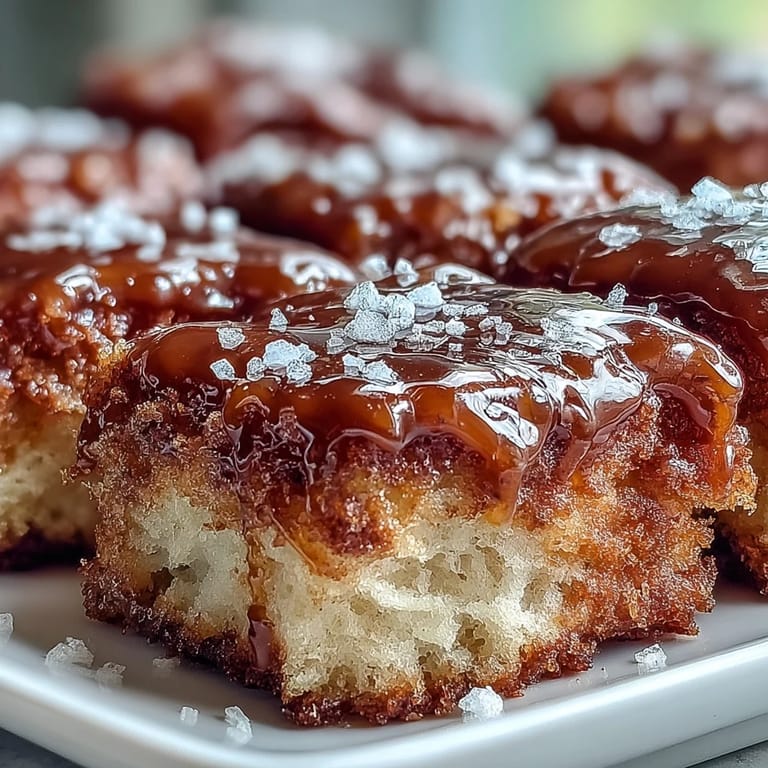
My friend Sarah took one bite and immediately asked for the recipe, which is basically the highest compliment you can get on baked goods. We stood around the kitchen island eating them warm with coffee, and nobody seemed to care that they were technically breakfast. The maple flavor hits different when it's baked into the actual batter, not just drizzled on top.
Ingredients
- All-purpose flour: The foundation here, no need for anything fancy since we want that classic tender crumb
- Granulated sugar: Sweetens the batter and helps create that beautiful golden crust on top
- Baking powder: Gives these bars their lift so they stay light and fluffy, not dense
- Salt: Just enough to balance all the sweetness and make the maple flavor pop
- Ground cinnamon and nutmeg: These warm spices are non-negotiable for that cozy donut shop vibe
- Unsalted butter, melted: Adds richness and keeps the bars tender, plus melted butter incorporates faster than softened
- Whole milk: Creates a softer texture than water or lower-fat milk would
- Large eggs: Structure and moisture, room temperature eggs blend better into the batter
- Vanilla extract: Rounds out all the flavors, don't skip it even though maple is the star
- Maple syrup: The real deal in the batter makes all the difference, imitation syrup won't give you that same depth
- Powdered sugar: Essential for the glaze, it creates that smooth pourable consistency granulated sugar can't achieve
- Extra milk for glaze: Start with one tablespoon, you can always add more to reach the right thickness
Tired of Takeout? 🥡
Get 10 meals you can make faster than delivery arrives. Seriously.
One email. No spam. Unsubscribe anytime.
Instructions
- Get your oven ready:
- Preheat to 350°F and grab your 9×13 pan, either greasing it well or lining with parchment paper so nothing sticks later
- Whisk the dry team:
- In a large bowl, combine flour, sugar, baking powder, salt, cinnamon, and nutmeg until everything looks evenly mixed
- Mix the wet ingredients:
- In a separate bowl, whisk melted butter, milk, eggs, vanilla, and maple syrup until smooth and no streaks remain
- Bring them together:
- Pour wet into dry and fold gently with a spatula just until combined, some small lumps are totally fine and better than overmixed
- Spread and bake:
- Even out the batter in your pan and bake 25 to 30 minutes until a toothpick comes out clean and edges are golden
- Cool completely:
- Let them rest 10 minutes in the pan, then move to a wire rack because warm bars will melt your glaze right off
- Make the magic glaze:
- Whisk powdered sugar with one tablespoon milk, adding more until thick but pourable, then stir in maple syrup
- Finish with flair:
- Drizzle that gorgeous glaze all over the cooled bars, maybe add extra maple syrup if you're feeling extra, then let set before slicing
 Save to Pinterest
 These have become my go-to for every potluck and brunch since that first morning, mostly because they disappear faster than anything else I make. Something about maple just makes people feel cozy and taken care of, like you put way more effort in than you actually did.
Making Them Ahead
The bars actually taste better on day two when all the flavors have had time to hang out together. I bake them the night before, keep them wrapped tight on the counter, and glaze them right before serving so they look fresh and gorgeous.
Glaze Secrets
If your glaze seems too thick, add milk literally one teaspoon at a time, but if it's too runny, whisk in another tablespoon of powdered sugar. The goal is thick honey consistency, something that drizzles beautifully but doesn't run off the edges completely.
Storage Solutions
These keep surprisingly well at room temperature for three days, assuming they last that long in your house. I've frozen the unglazed bars wrapped tightly in plastic, then thawed and glazed them fresh, and you honestly cannot tell the difference.
- Don't refrigerate them unless absolutely necessary, they dry out way faster in the fridge
- If you must freeze, glaze after thawing for the prettiest result
- Always store with wax paper between layers so they don't stick together
 Save to Pinterest
 Hope these bring as much maple-scented joy to your kitchen as they have to mine, and that someone asks you for the recipe too.
Recipe Q&A
- → Can I make these bars ahead of time?
Yes, prepare the bars up to 2 days in advance. Store in an airtight container at room temperature, then add the glaze shortly before serving for the freshest appearance and texture.
- → What's the best way to achieve the softest texture?
Avoid overmixing the batter when combining wet and dry ingredients. Stir just until no dry streaks remain—overmixing develops gluten and can make the bars tough instead of tender.
- → Can I substitute the maple syrup?
Pure maple syrup provides the signature flavor. Honey or agave will work as sweeteners but won't deliver the same maple taste. For authentic flavor, use real maple syrup rather than pancake syrup.
- → Why must the bars cool completely before glazing?
Warm bars will cause the glaze to melt and slide off rather than set properly. Allowing them to cool completely ensures the glaze adheres beautifully and creates that appealing drizzled presentation.
- → How do I know when the bars are done baking?
Insert a toothpick into the center—if it comes out clean or with just a few moist crumbs, the bars are ready. The edges should be lightly golden, and the top should spring back when gently pressed.
- → Can I freeze these maple bars?
Absolutely. Wrap unglazed bars tightly in plastic wrap and foil, then freeze for up to 3 months. Thaw overnight at room temperature before adding the glaze and serving.